Editor Interface Basics - 02
Let’s move on!
Scripts
It’s time to create your first script.
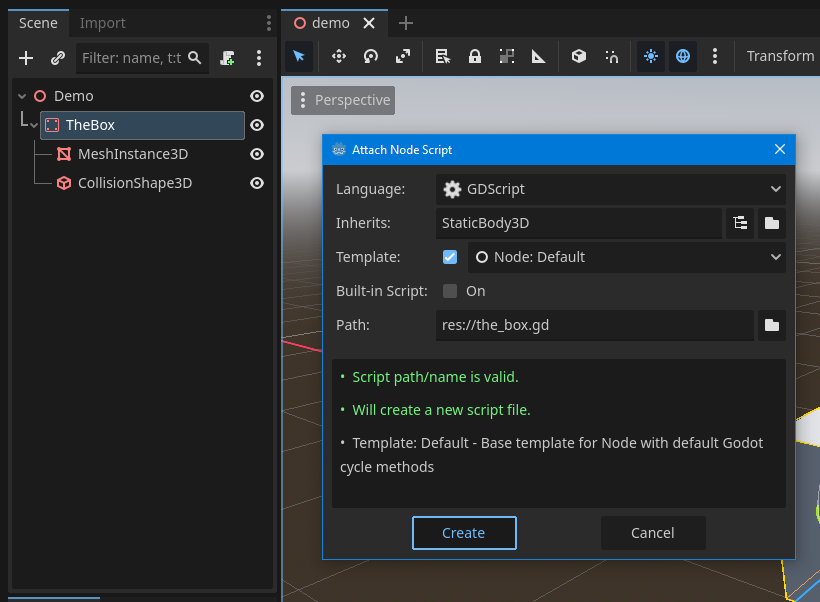
We’re going to make a script for TheBox. To do that:
- Select the TheBox node.
- Click on the Attach Script icon (see image).
- Keep everything as default, and hit the Create button.
Immediately, Godot will switch to its built-in code editor.
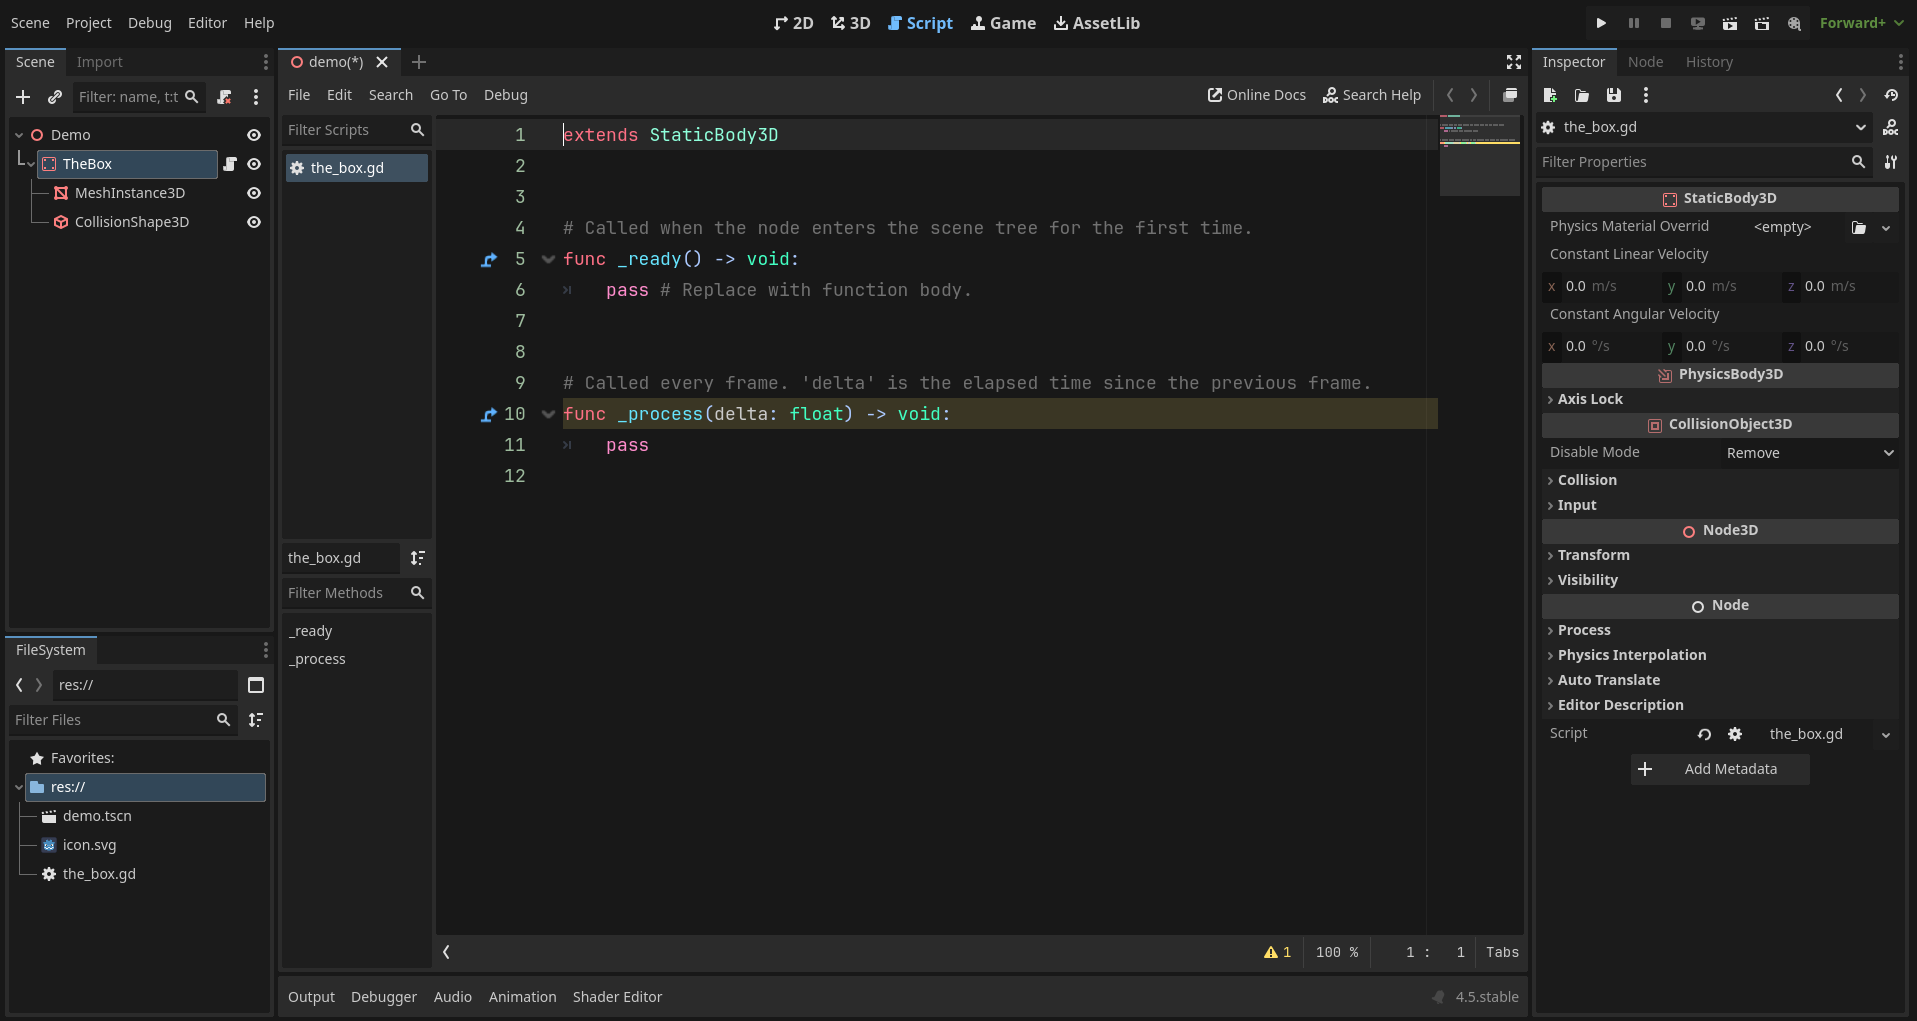
- From the top tabs, you can go back to the 3D view.
- You’ll notice TheBox node now has a small icon - that means a script is attached.
- You can click that icon anytime to open the script.
Take a look at the FileSystem dock. You’ll see a new file created called the_box.gd.

The .gd extension means it’s a GDScript file - this is Godot’s main scripting language, similar to Python in syntax and readability.
Let’s take a look at the code.
As mentioned earlier, we’re not diving deep into code for this project - just taking a quick look.
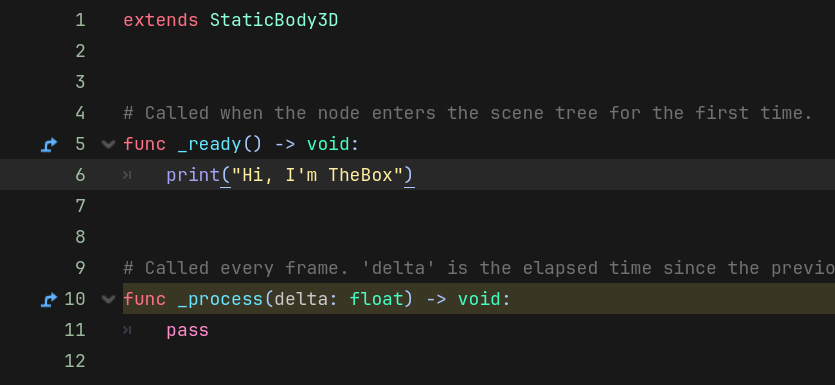
Here, remove the pass line under the _ready() function, and replace it with:
print("Hi, I'm TheBox")
Then press Ctrl + S to save your progress.
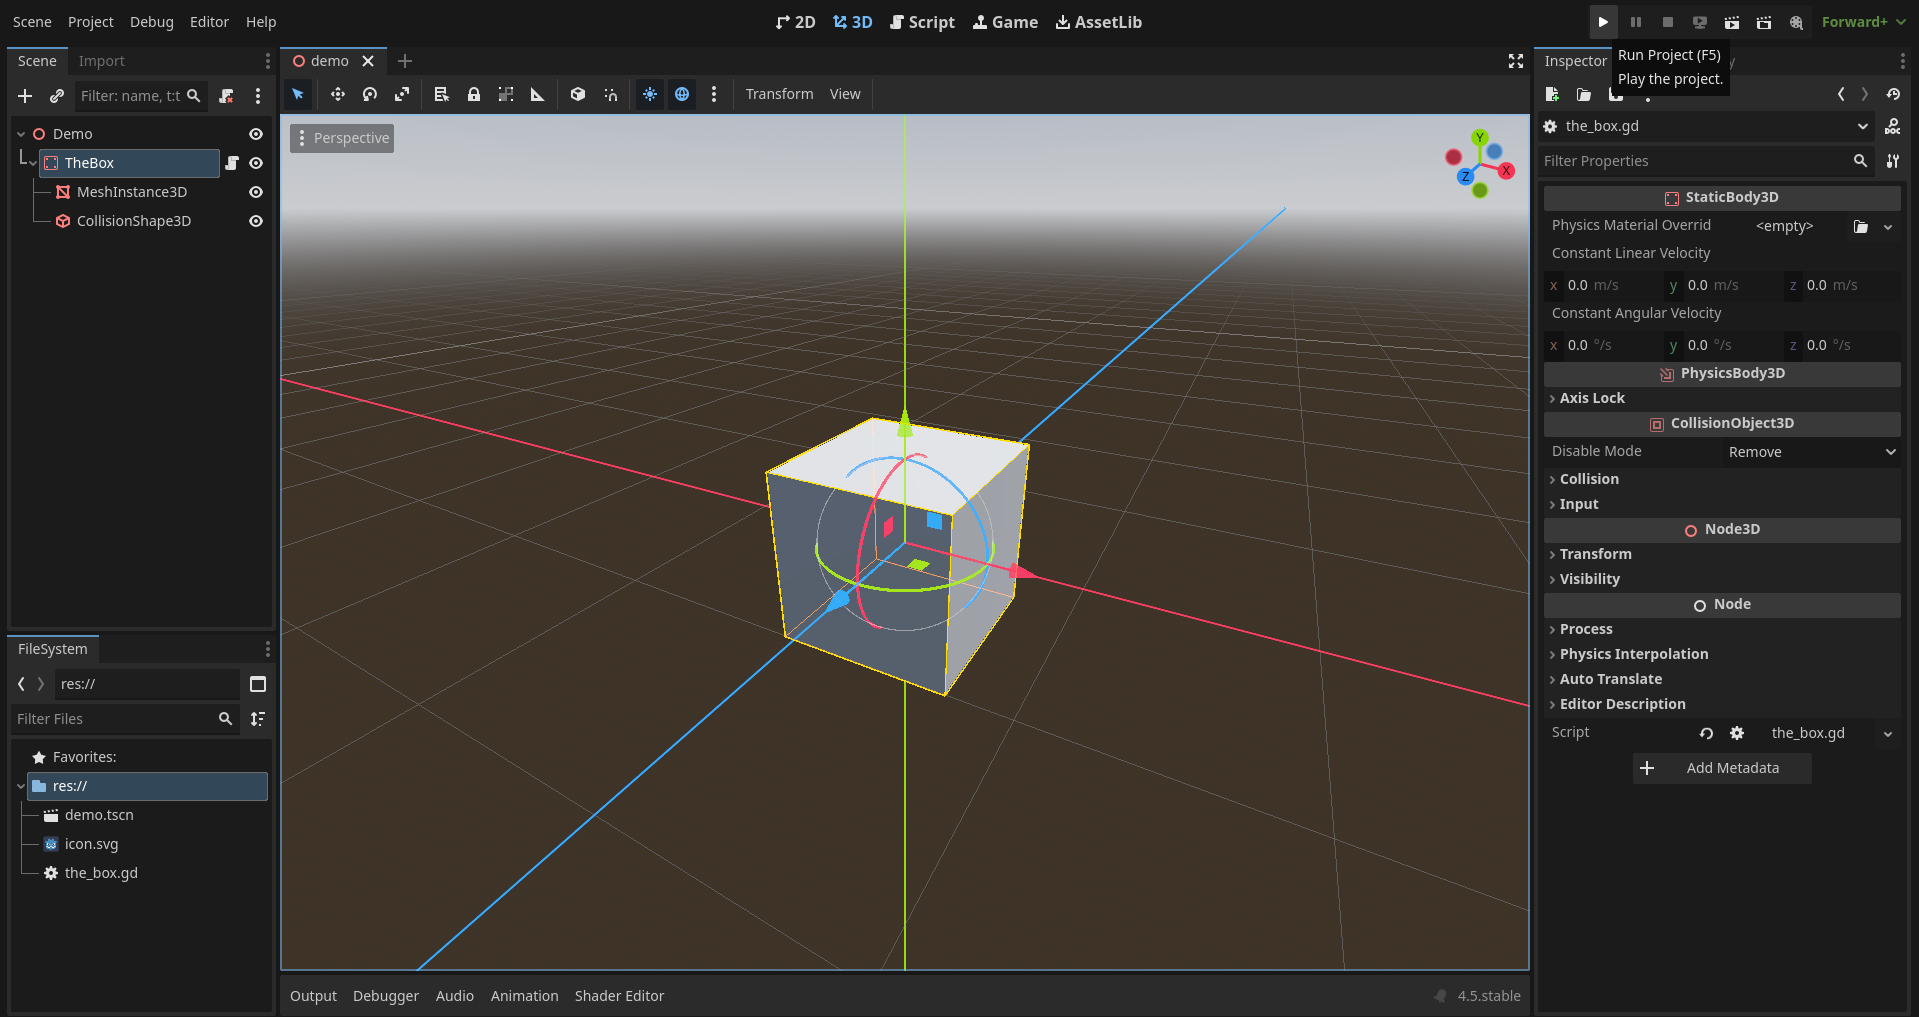
Next, press the 3D button in the top bar to switch back to the 3D viewport.

Run the Project
Now it’s a good time to run the project!
Press the Play icon in the top-right corner (see image).
When you run the project for the first time, you’ll see this dialog:

Just press Select Current. This will set our demo scene as the main scene of the game.
You’ll only see this once - for the first run.
(For this project, we’ll keep the demo scene as the main one, so you don’t need to change it.) If you ever want to change the main scene later, you can do it here:
- Go to Project → Project Settings
- Go to General → Application → Run section
- Under “Main Scene,” click the folder icon to browse and select a new one

This is helpful when your game has multiple scenes and you want to choose which one runs first.
When you run the project, you’ll see this:
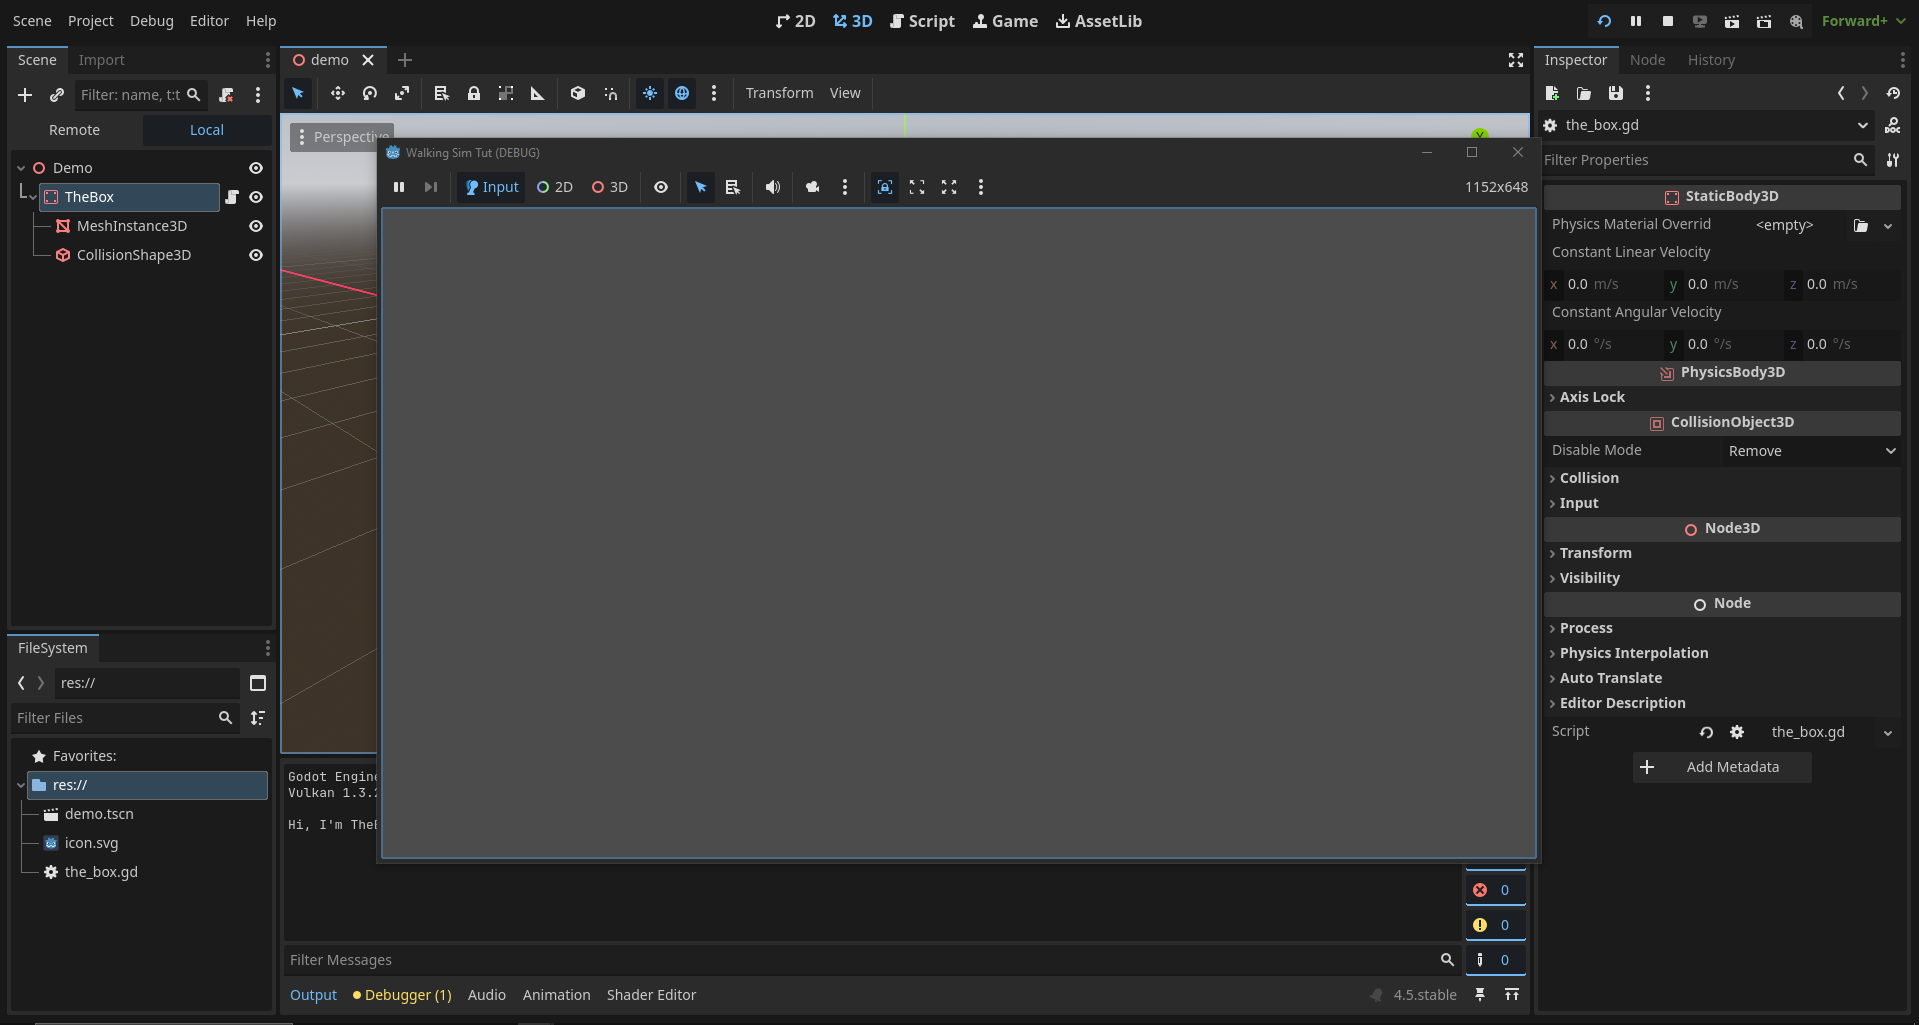
You’re right - you can’t see anything because we haven’t added a camera yet!
But if you check the console output, you’ll notice:
Hi, I'm TheBox
That means your script worked! Congratulations on your first console output!
You can close the game preview by pressing the Close button, or use the Stop button (next to the Run button) at the top right.
- F5 – Run the project
- F8 – Run the current scene
- F6 – Debug the current scene
Add a Camera
Now let’s add a camera!
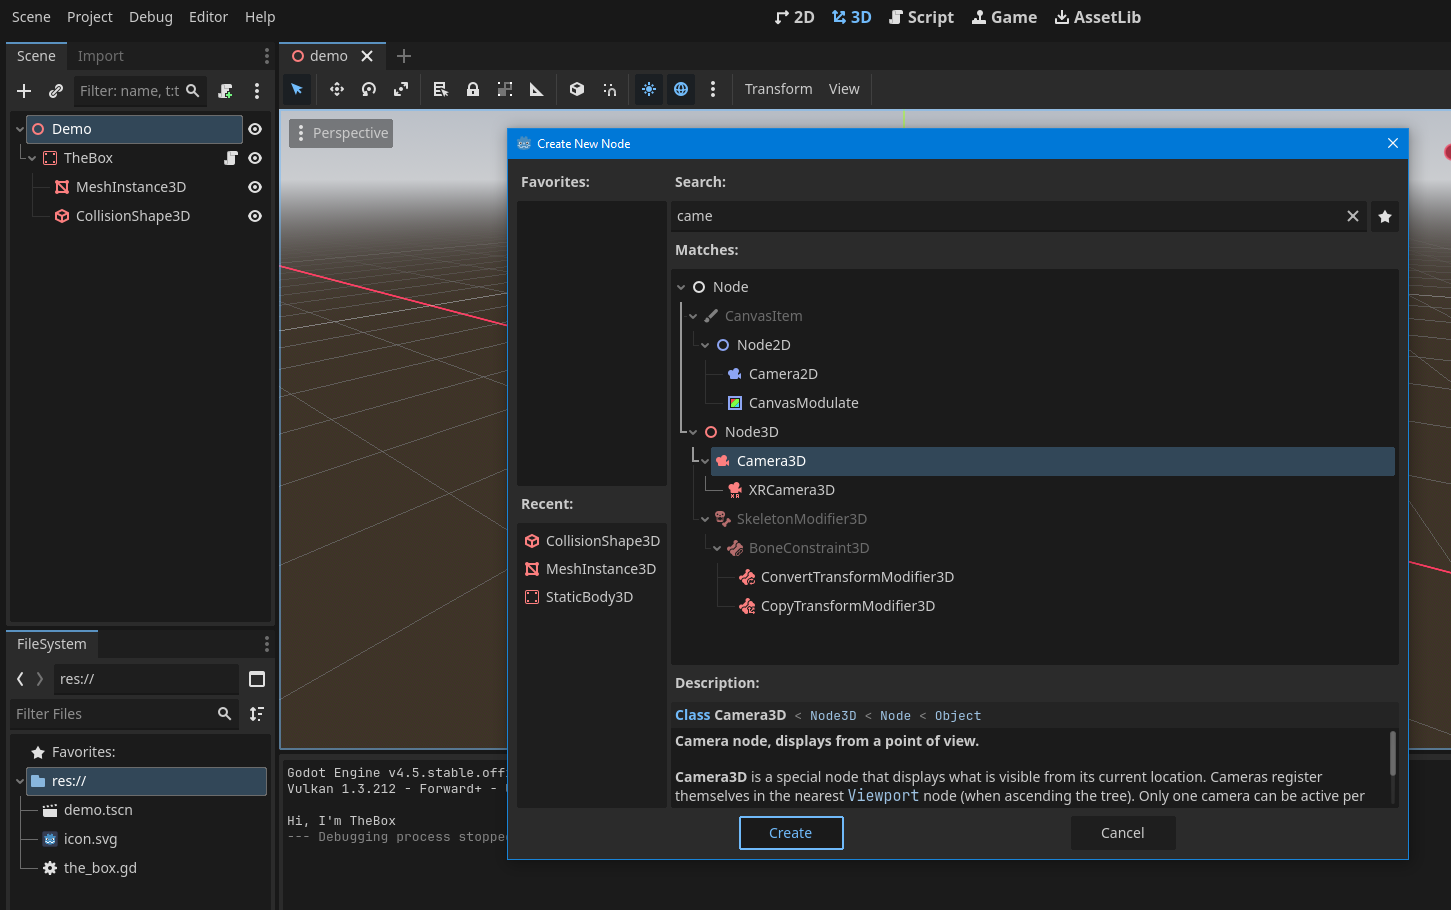
To do that, select the root node (Demo) and press Ctrl + A to open the “Create New Node” window.
Search for Camera3D and hit Create.
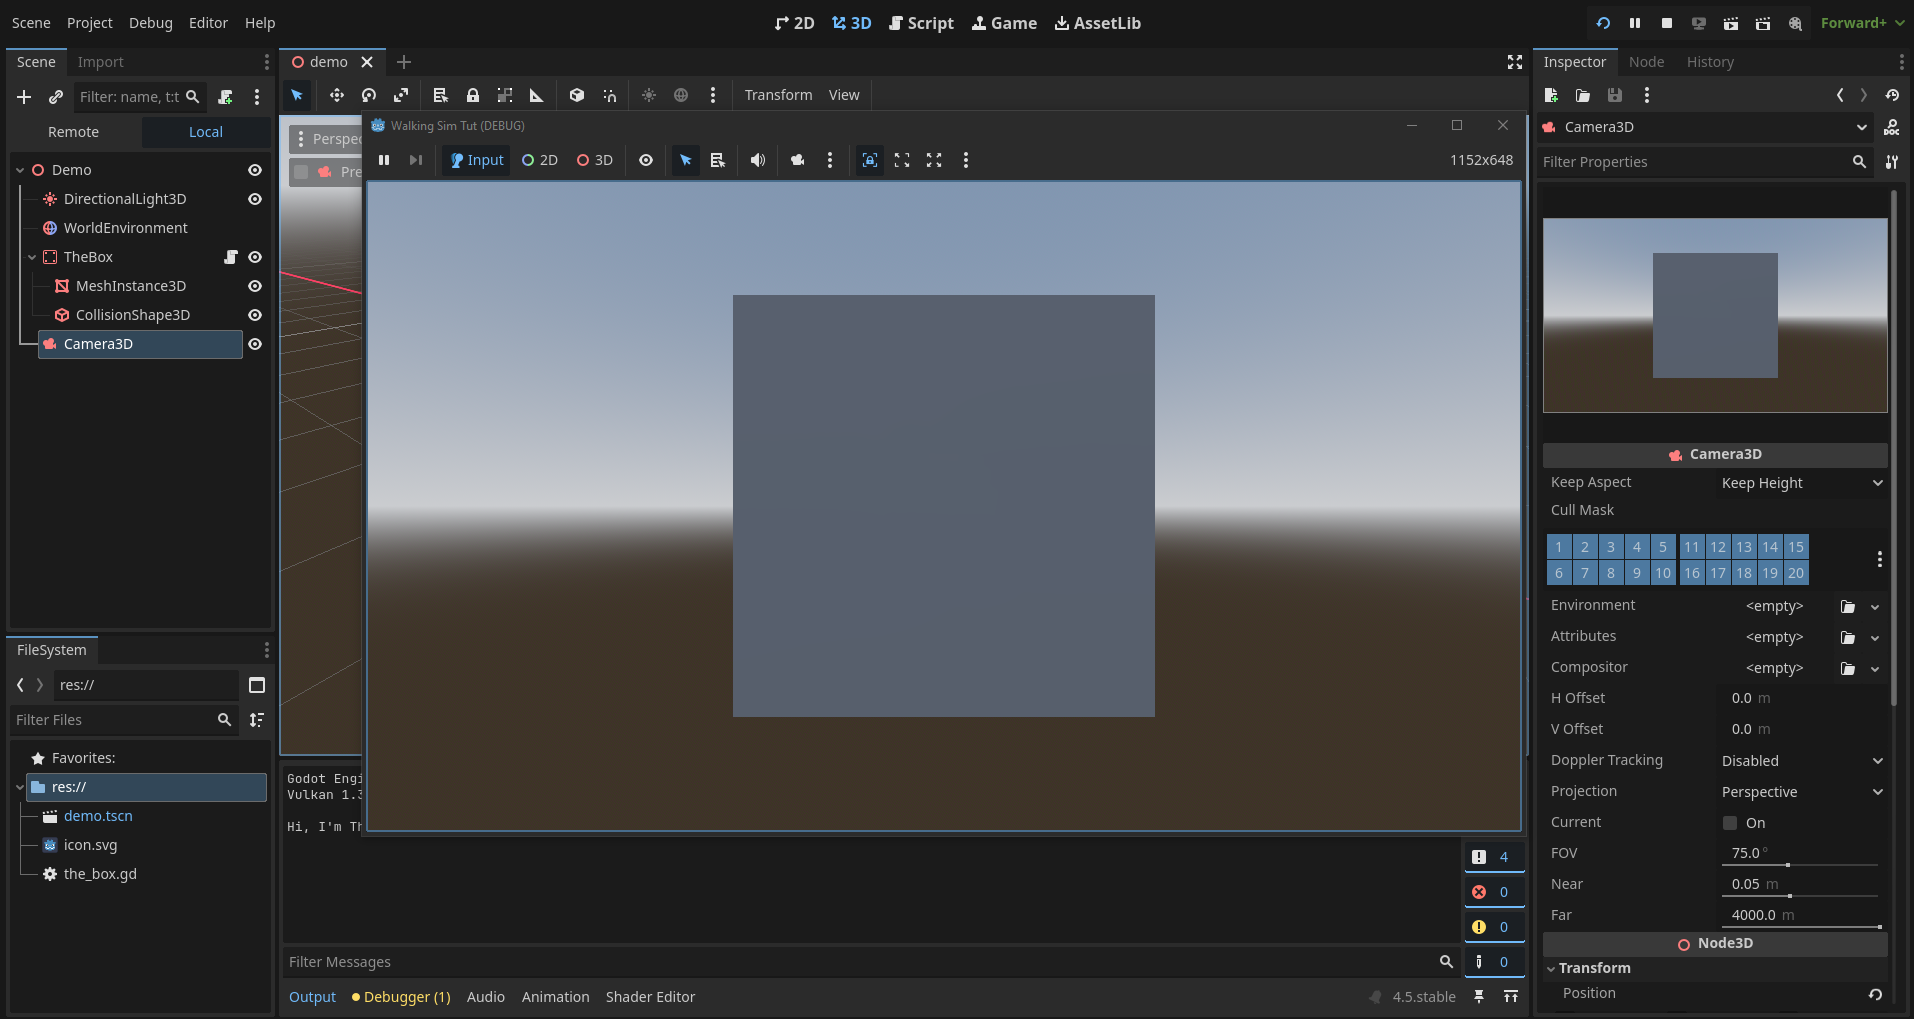
You’ll see the camera node appear like this:

In the Inspector panel, you’ll notice a small camera preview. Right now, the camera is at the world origin, so it only shows the horizon.
To see the box, we need to move the camera a bit.
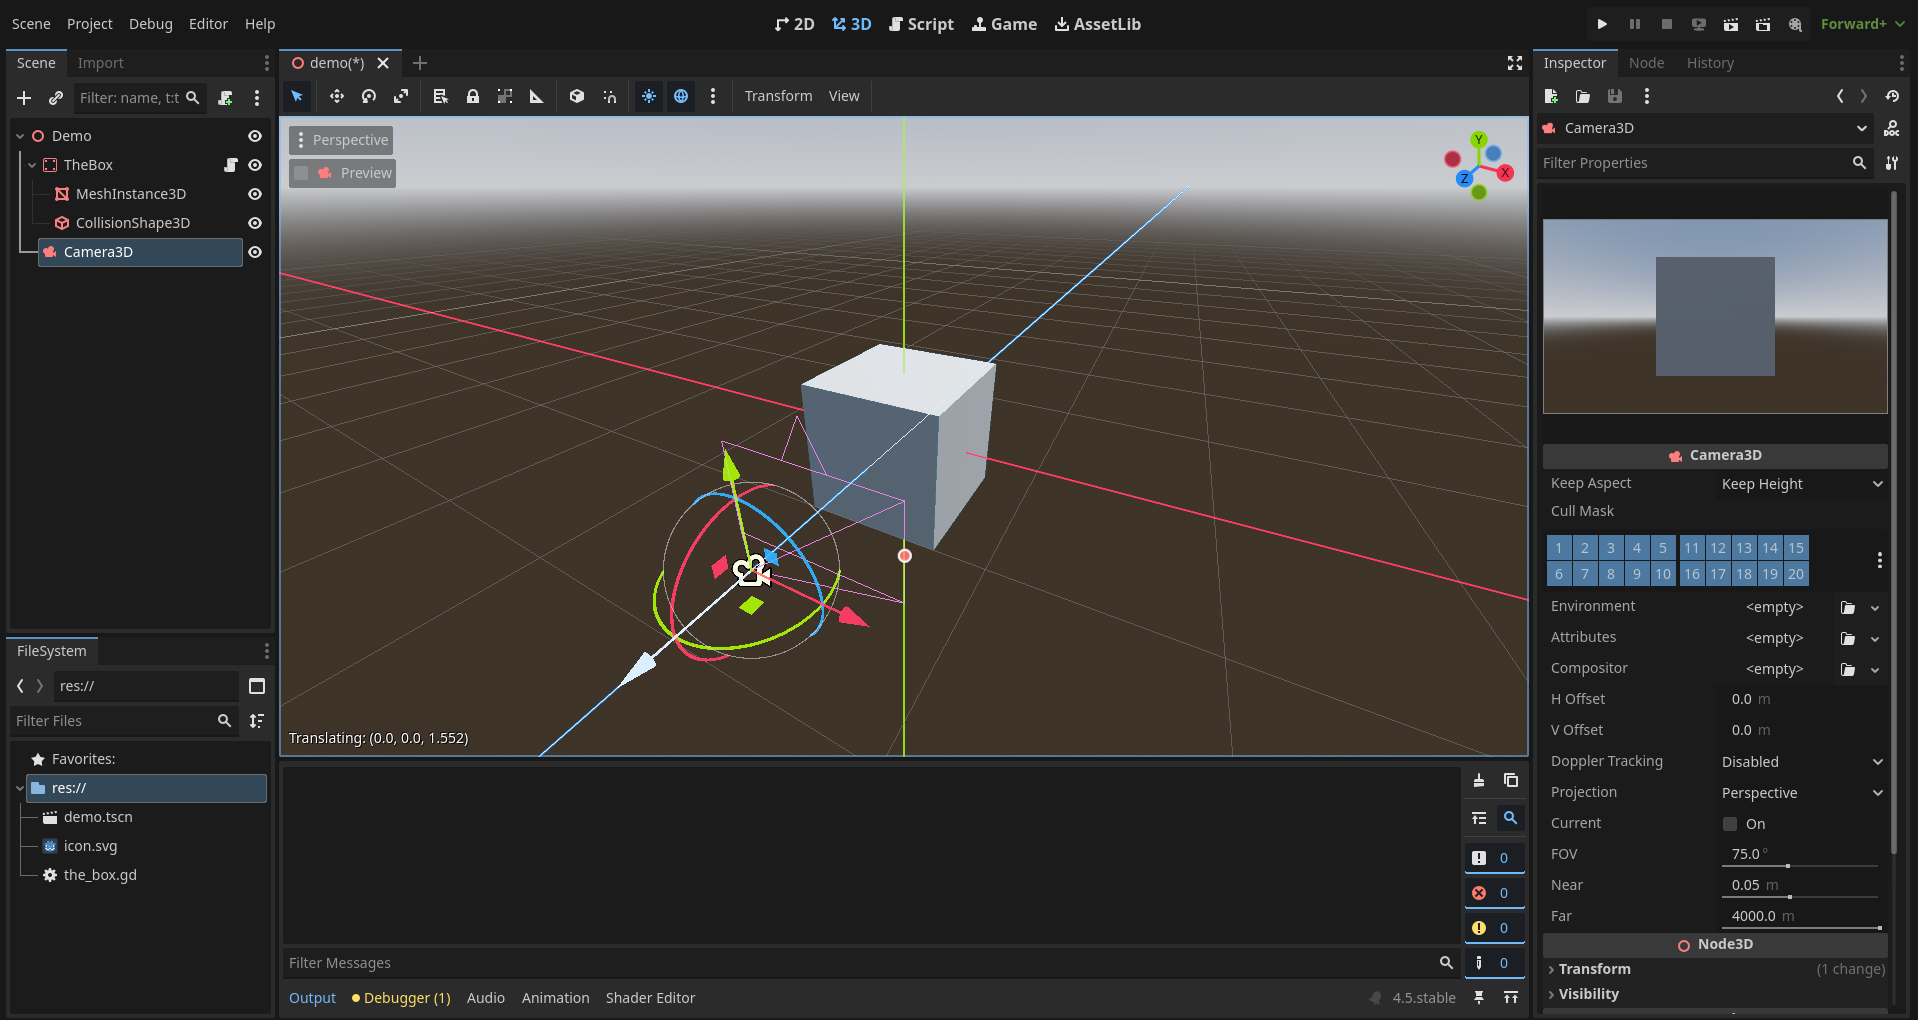 Click and drag the blue arrow (Z axis) to move the camera backward.
You’ll see the preview update as you move it.
Click and drag the blue arrow (Z axis) to move the camera backward.
You’ll see the preview update as you move it.
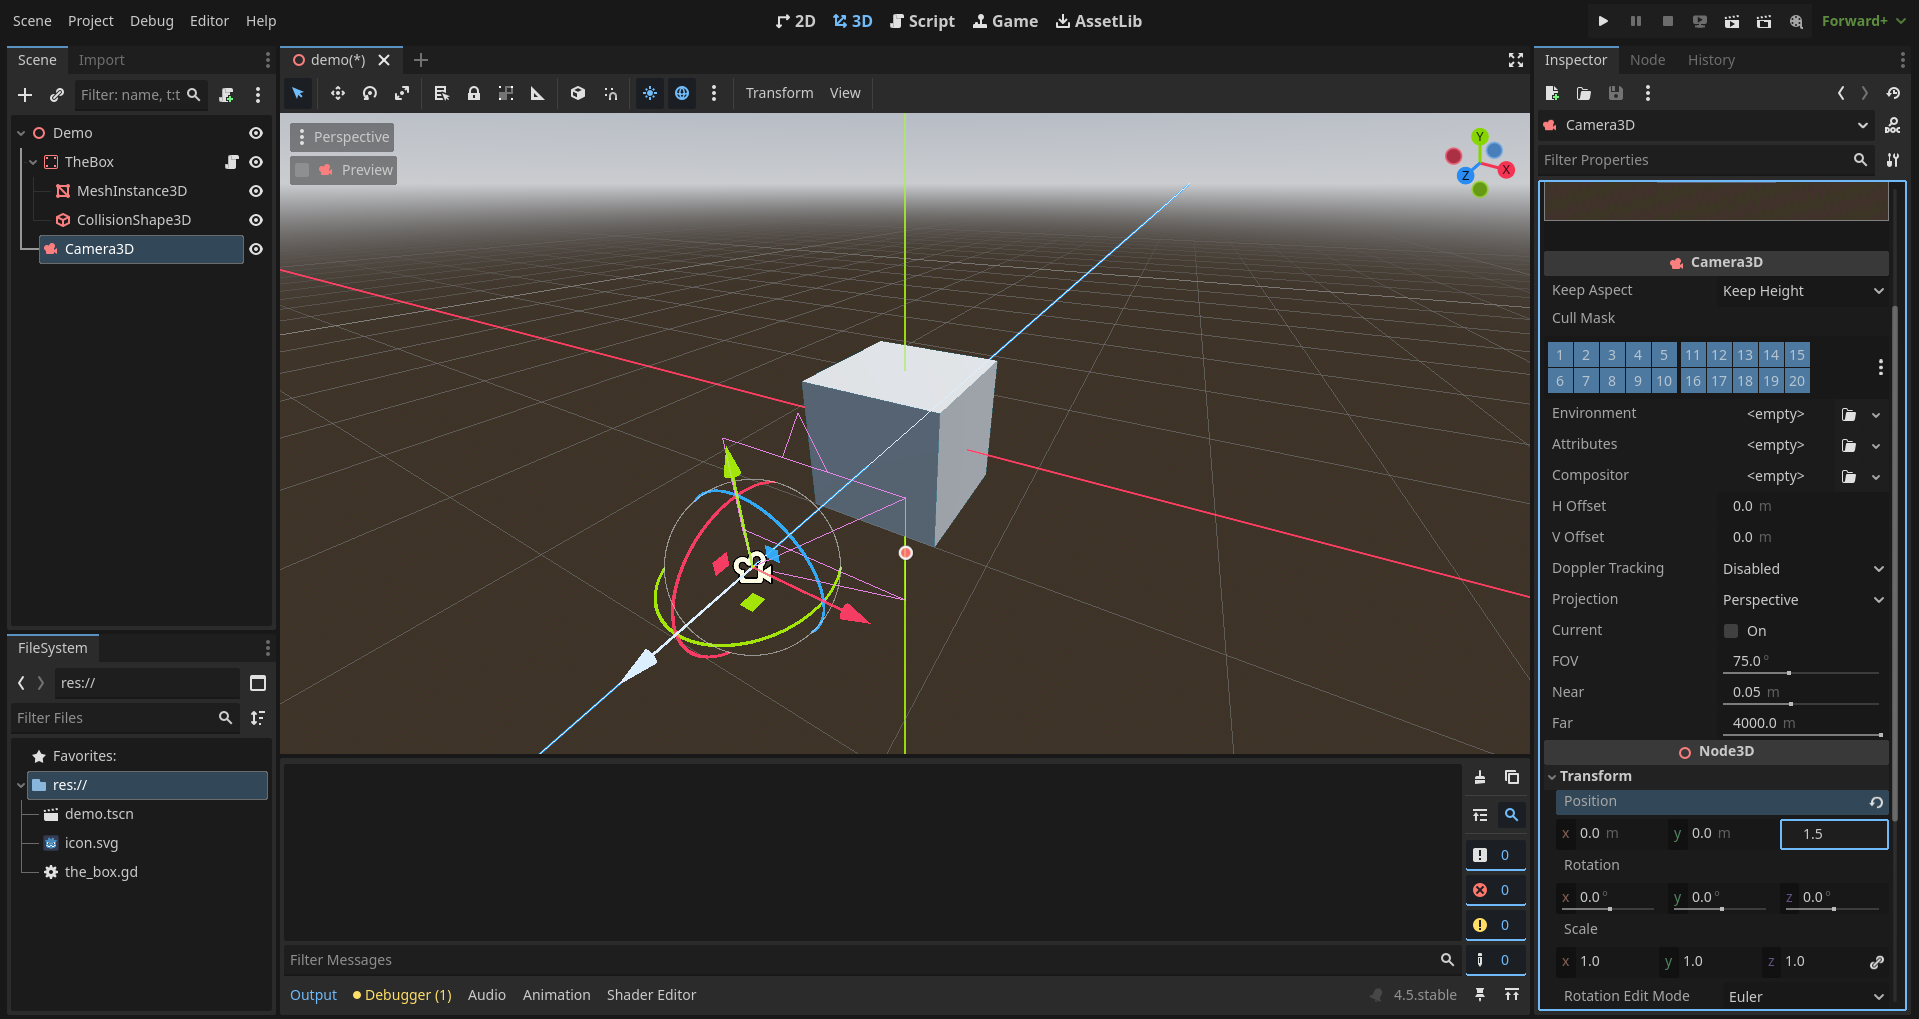
You can also adjust the camera’s position precisely using the Transform properties in the Inspector. That’s useful for exact adjustments - like moving 2 meters up, rotating 15 degrees, or scaling 3x.
Let’s move the camera exactly 1.5 meters on the Z axis.
Scroll down to Transform in the Inspector, and set the Z Position to 1.5.
Now run the project again.
 You’ll see the box - but something’s missing, right?
Yes, there’s no light! In the editor, you see lighting by default, but it’s not included in the actual game. We’ll need to add that manually.
Close the preview and let’s fix it.
Environment Settings
To add lighting and an environment, click the three-dot icon in the top-right corner of the viewport.
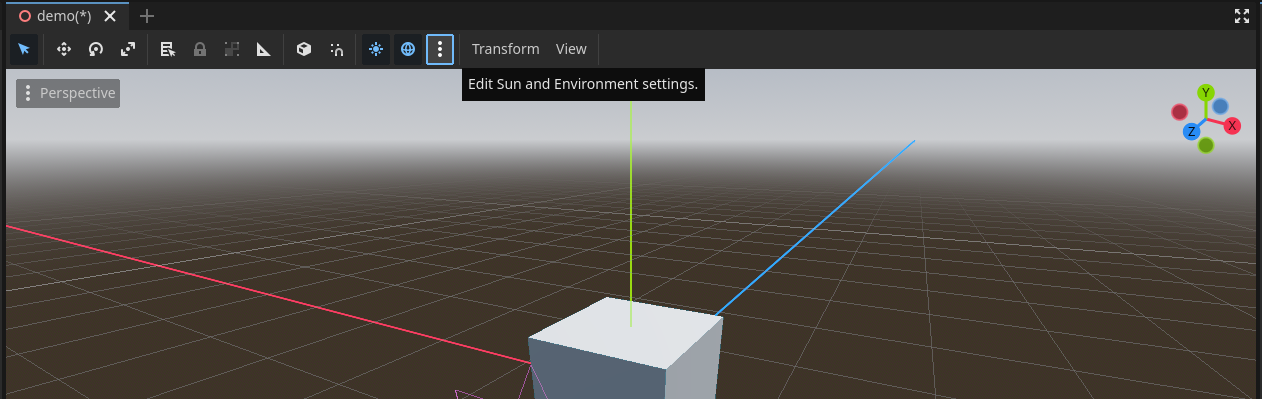
Here you’ll see the Default Environment and Default Sun - these are temporary editor-only helpers.
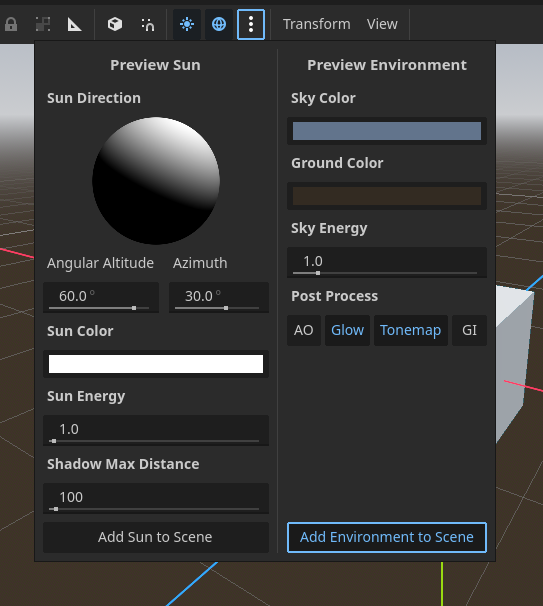
To make them part of your game, click both buttons: “Add Sun to Scene” and “Add Environment to Scene.”
You’ll now see new nodes appear in the scene panel.

This acts like sunlight. It illuminates the entire scene evenly, simulating the sun. You can rotate it to control the direction of light and shadows.
This node controls the look and feel of your world - sky, background color, ambient light, reflections, and more. You can tweak its settings in the Inspector to adjust the lighting mood or add effects like fog.
Now let’s run the game one more time!
 Everything works beautifully!
Congratulations - you just got your first 3D scene running in Godot!